Create Flow
Please note that the Workflows tab is accessible only to the Workspace owner.
Ensure you have installed the required SSO application from the Marketplace. For installation instructions, please refer here.
To initiate the workflow setup, follow these steps:
- Navigate to Dashboard > Workflows.
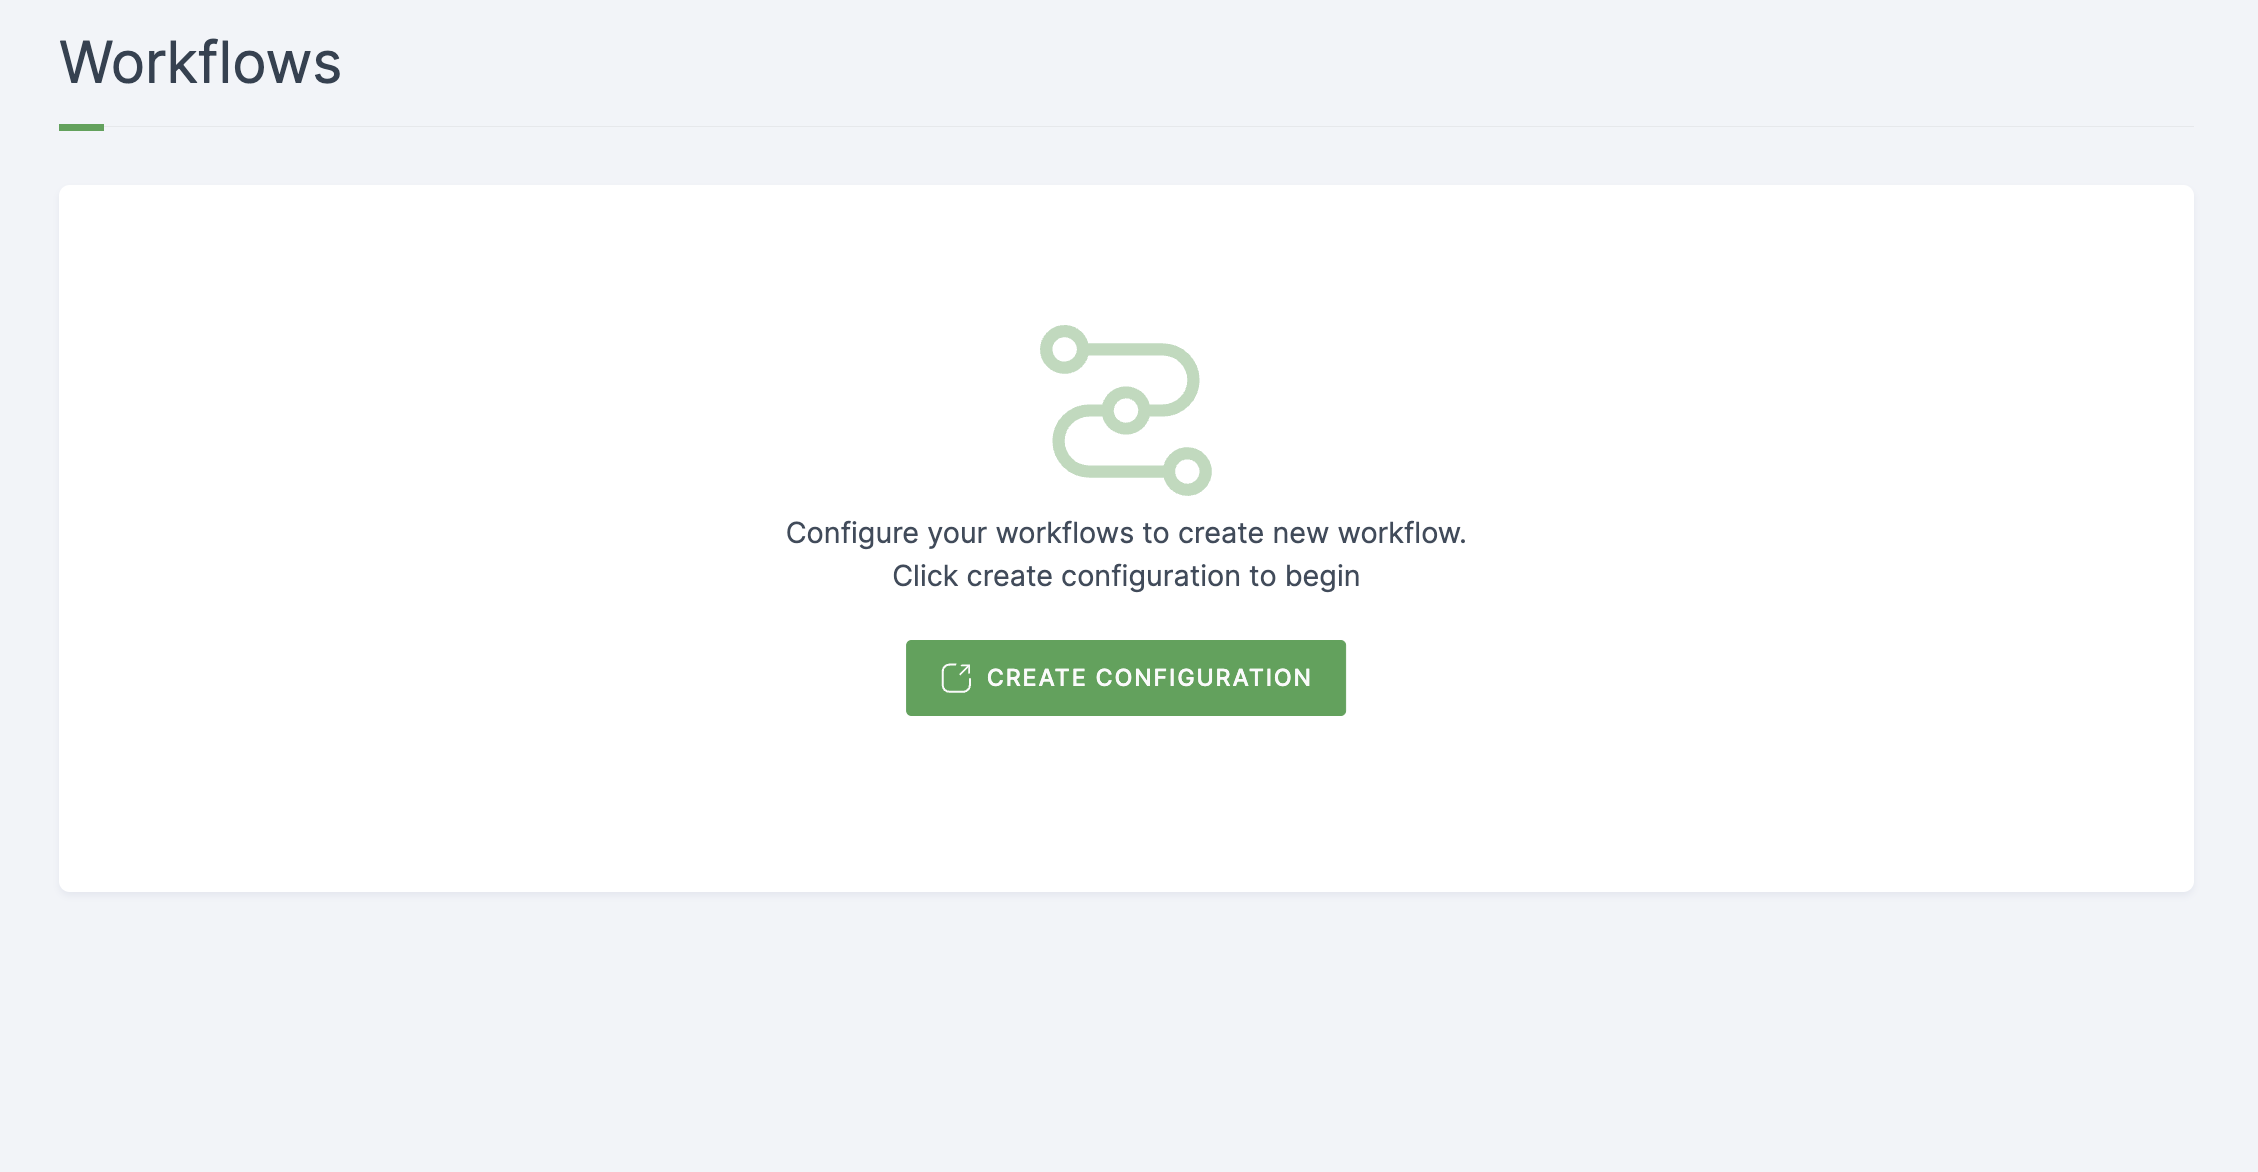
- Click on CREATE CONFIGURATION. (If you have an existing flow, click on EDIT WORKFLOWS.)
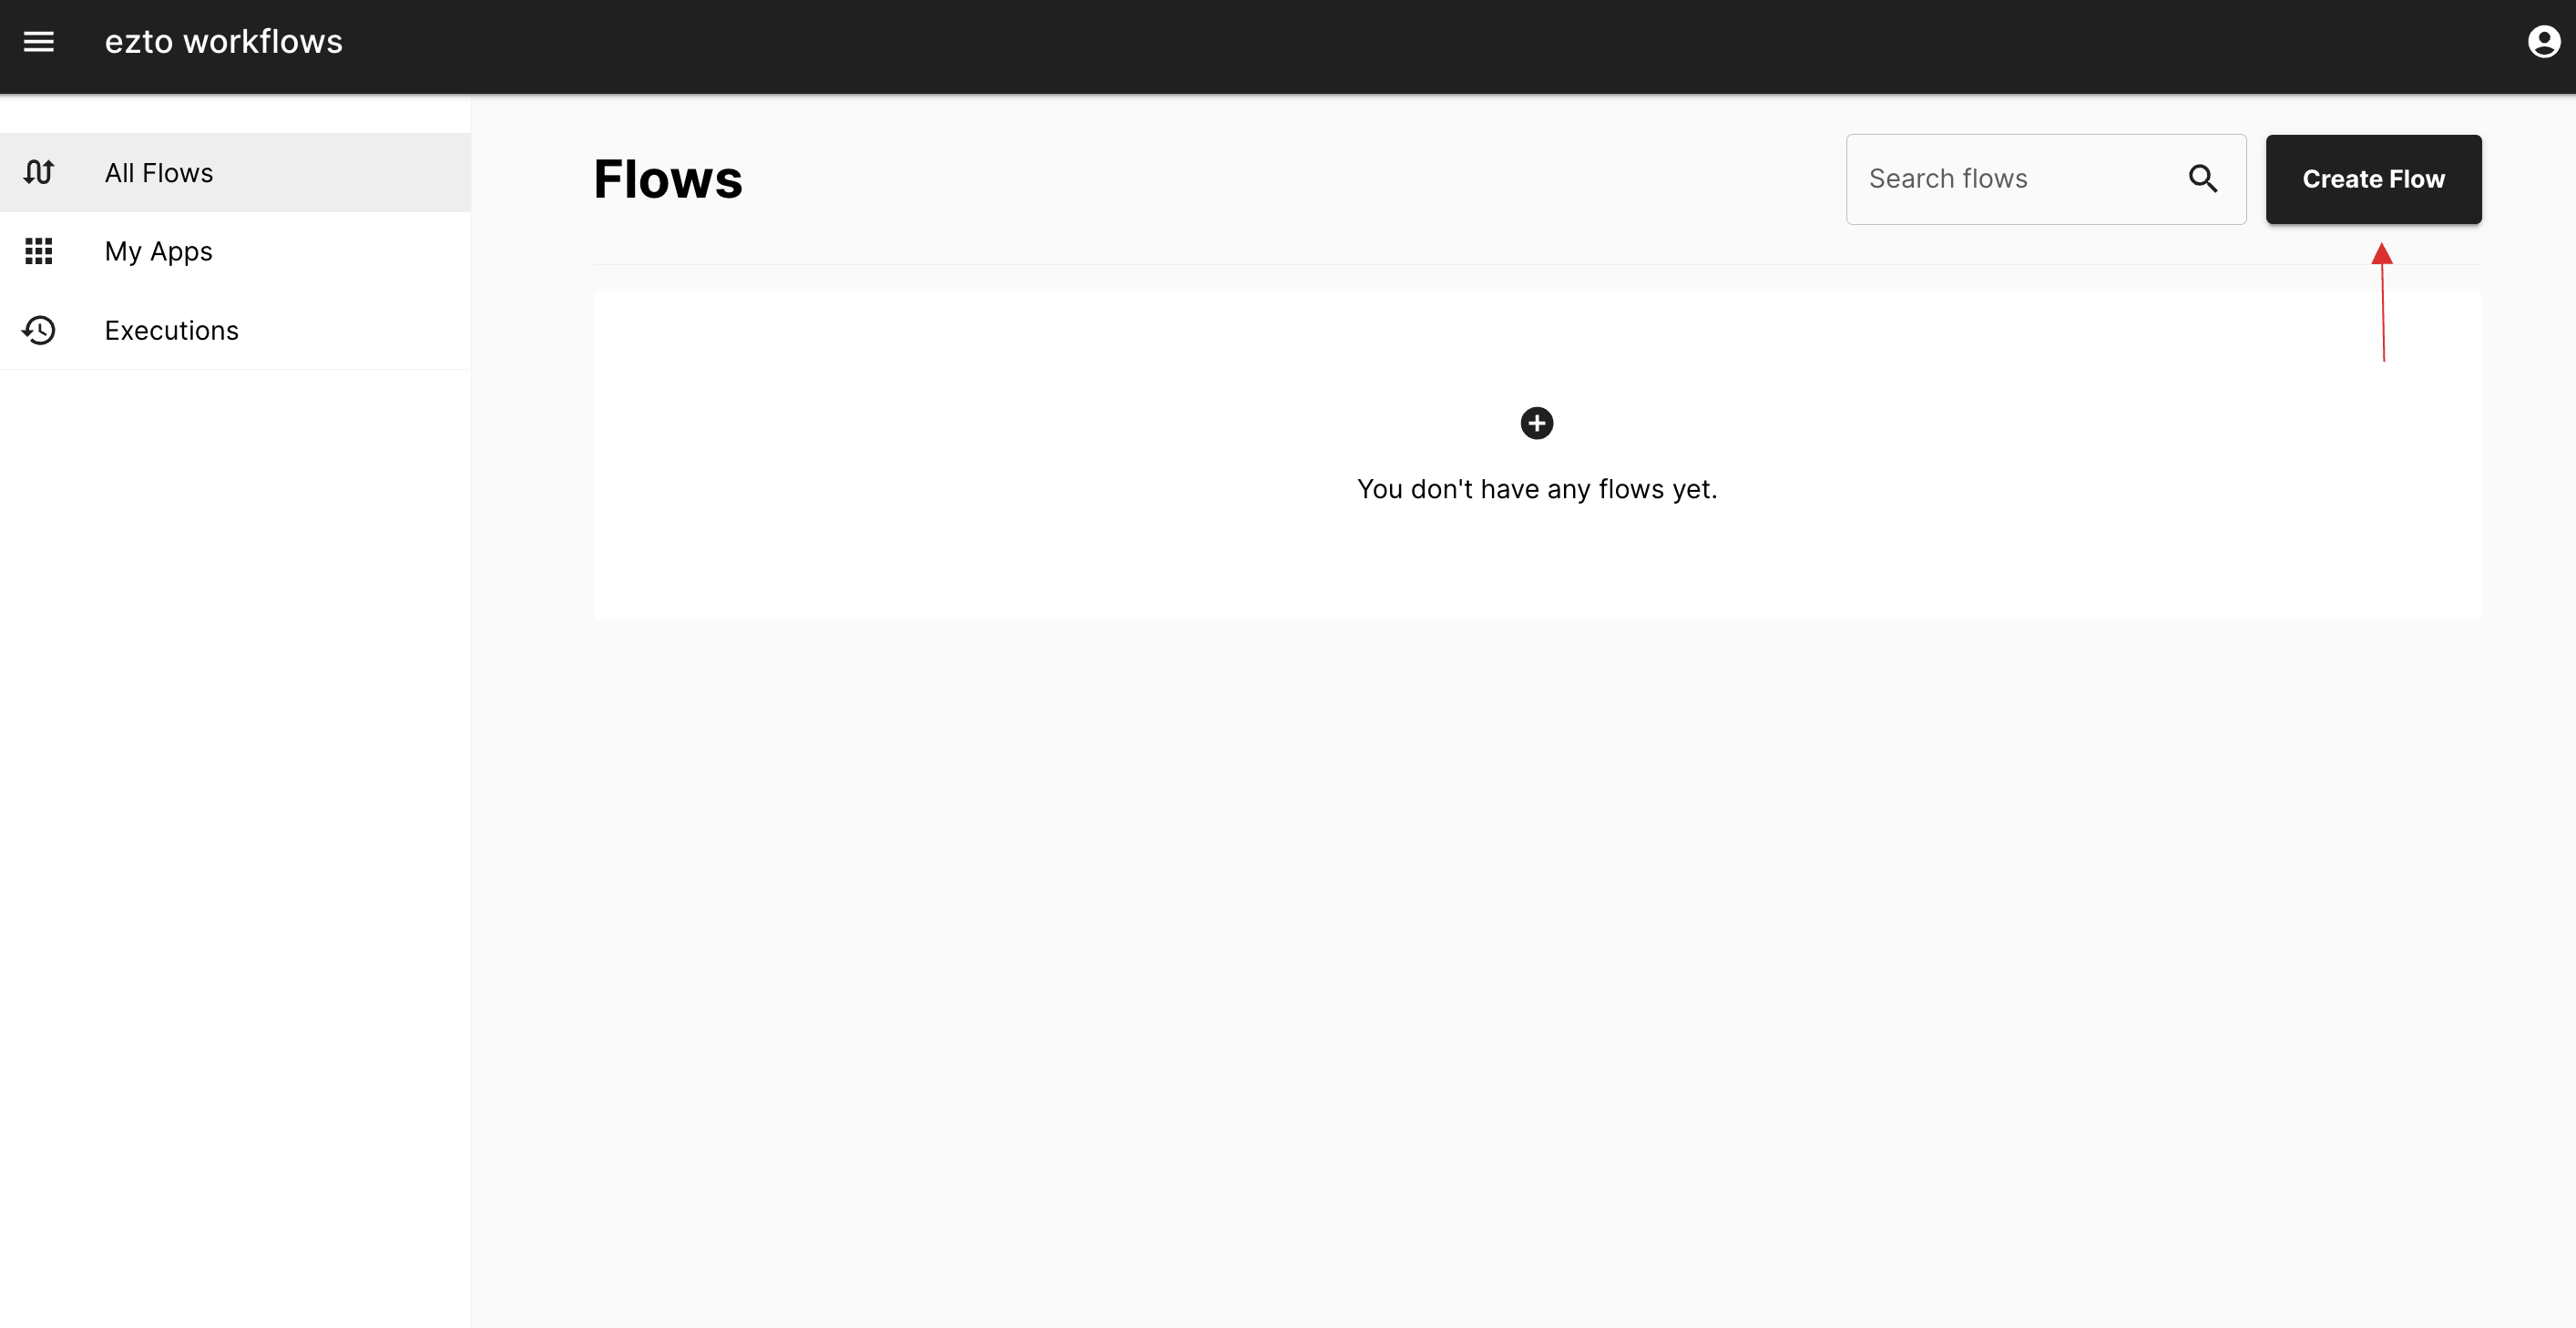
- You'll be redirected to the ezto workflows interface.
- Click on the Create flow button.
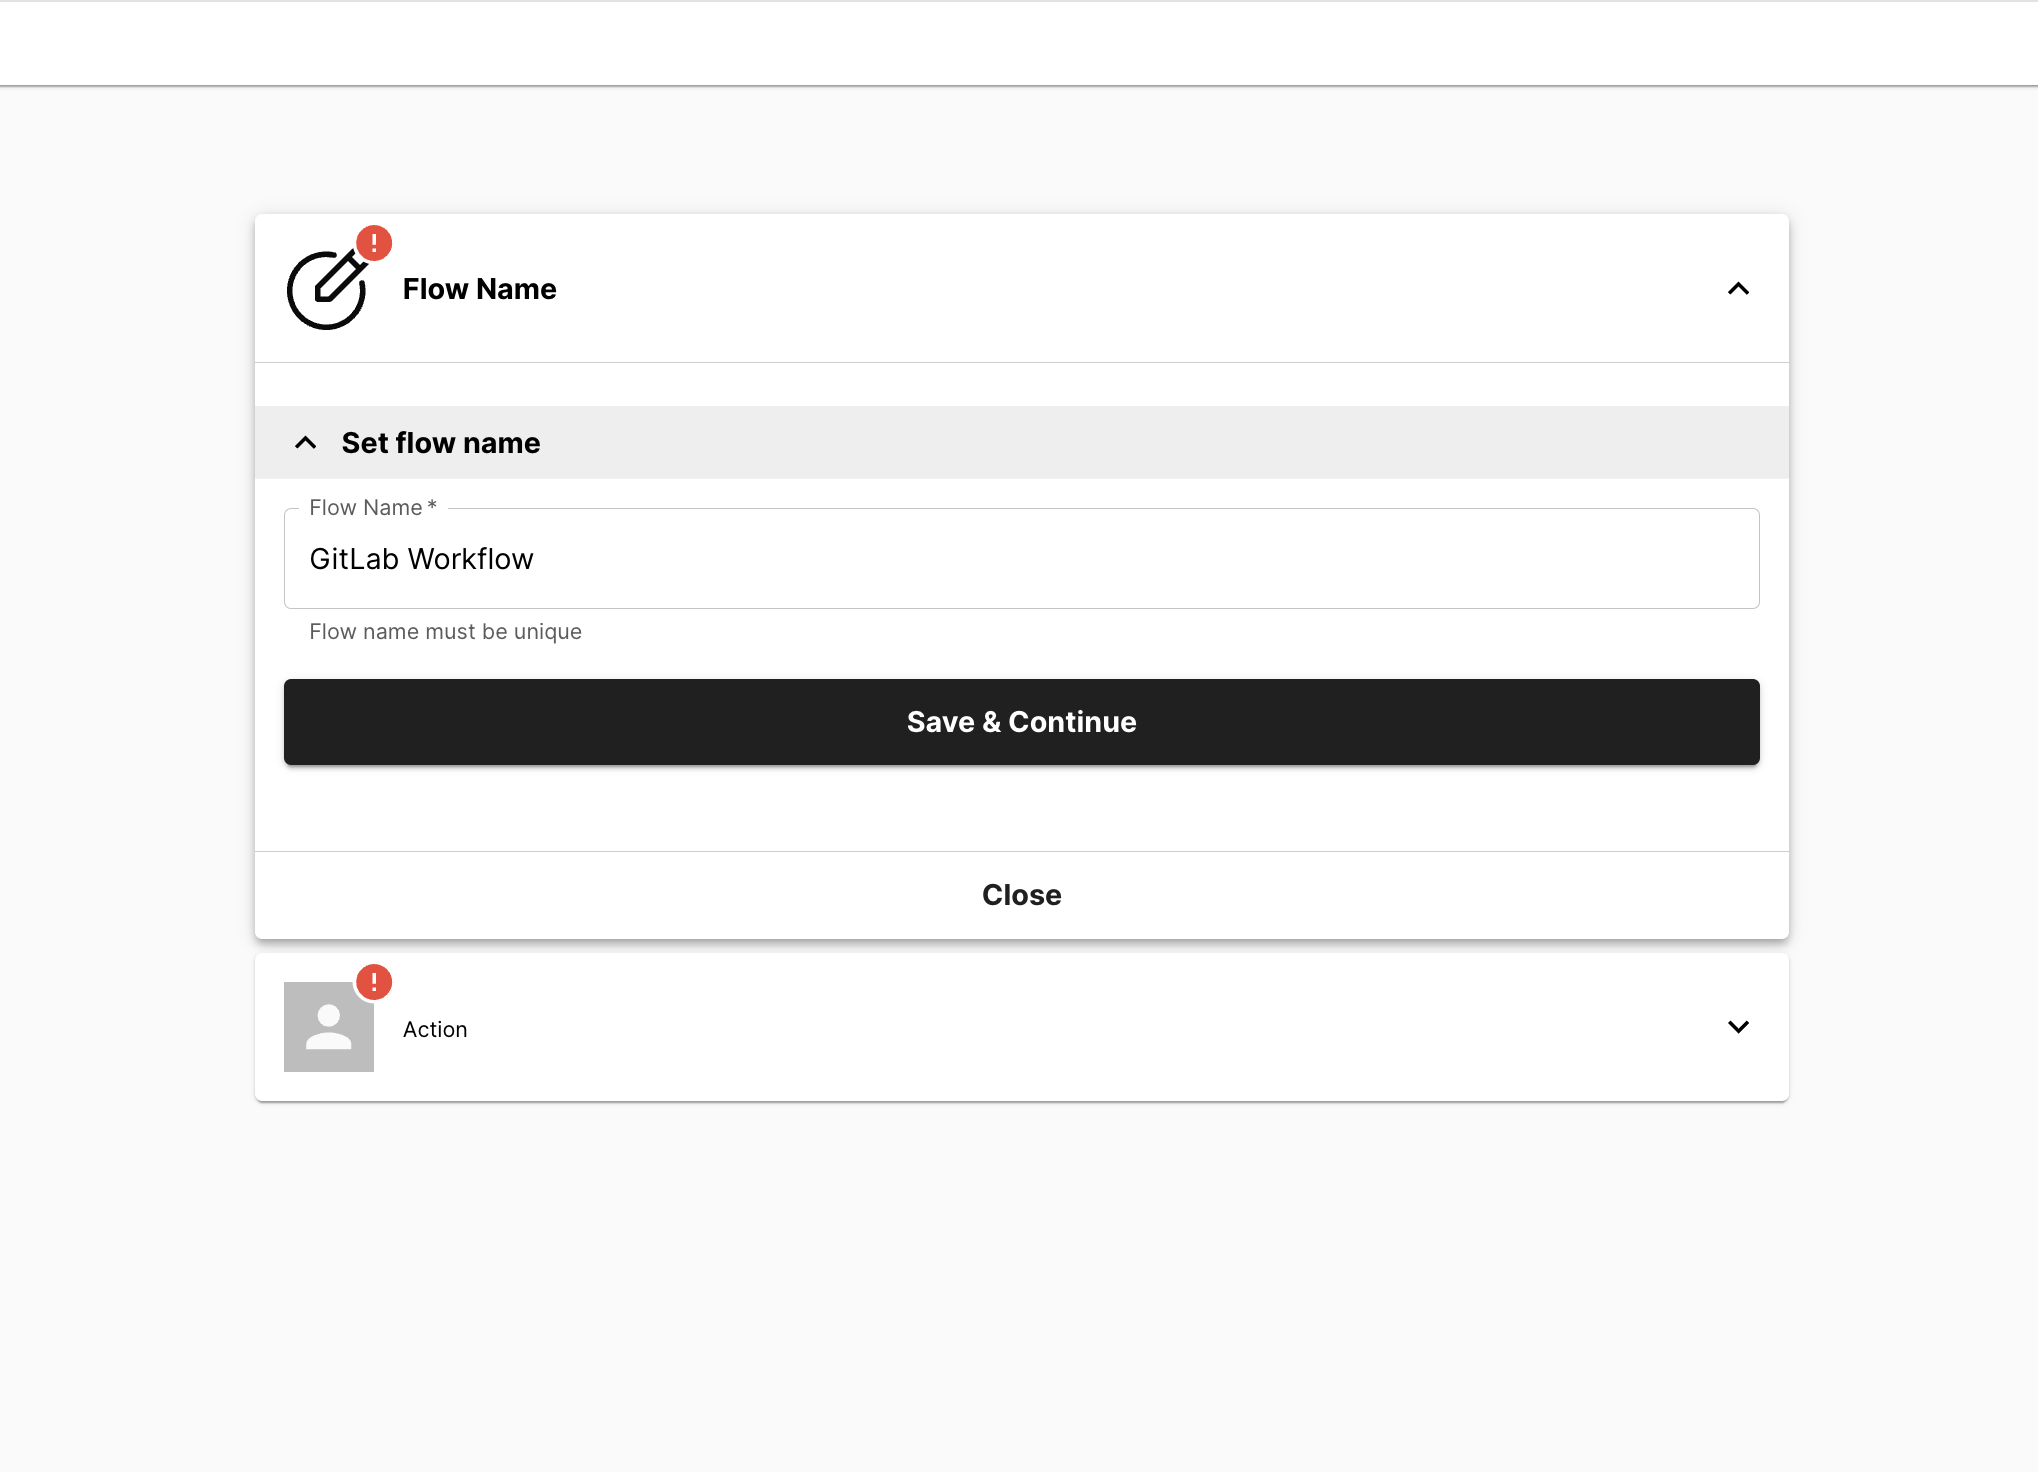
1. Flow Name
As the first step, provide a descriptive name to your workflow connection. Providing a unique name is mandatory to proceed with the setup process. After naming your workflow, proceed by clicking Save & Continue to move forward.
2. Action
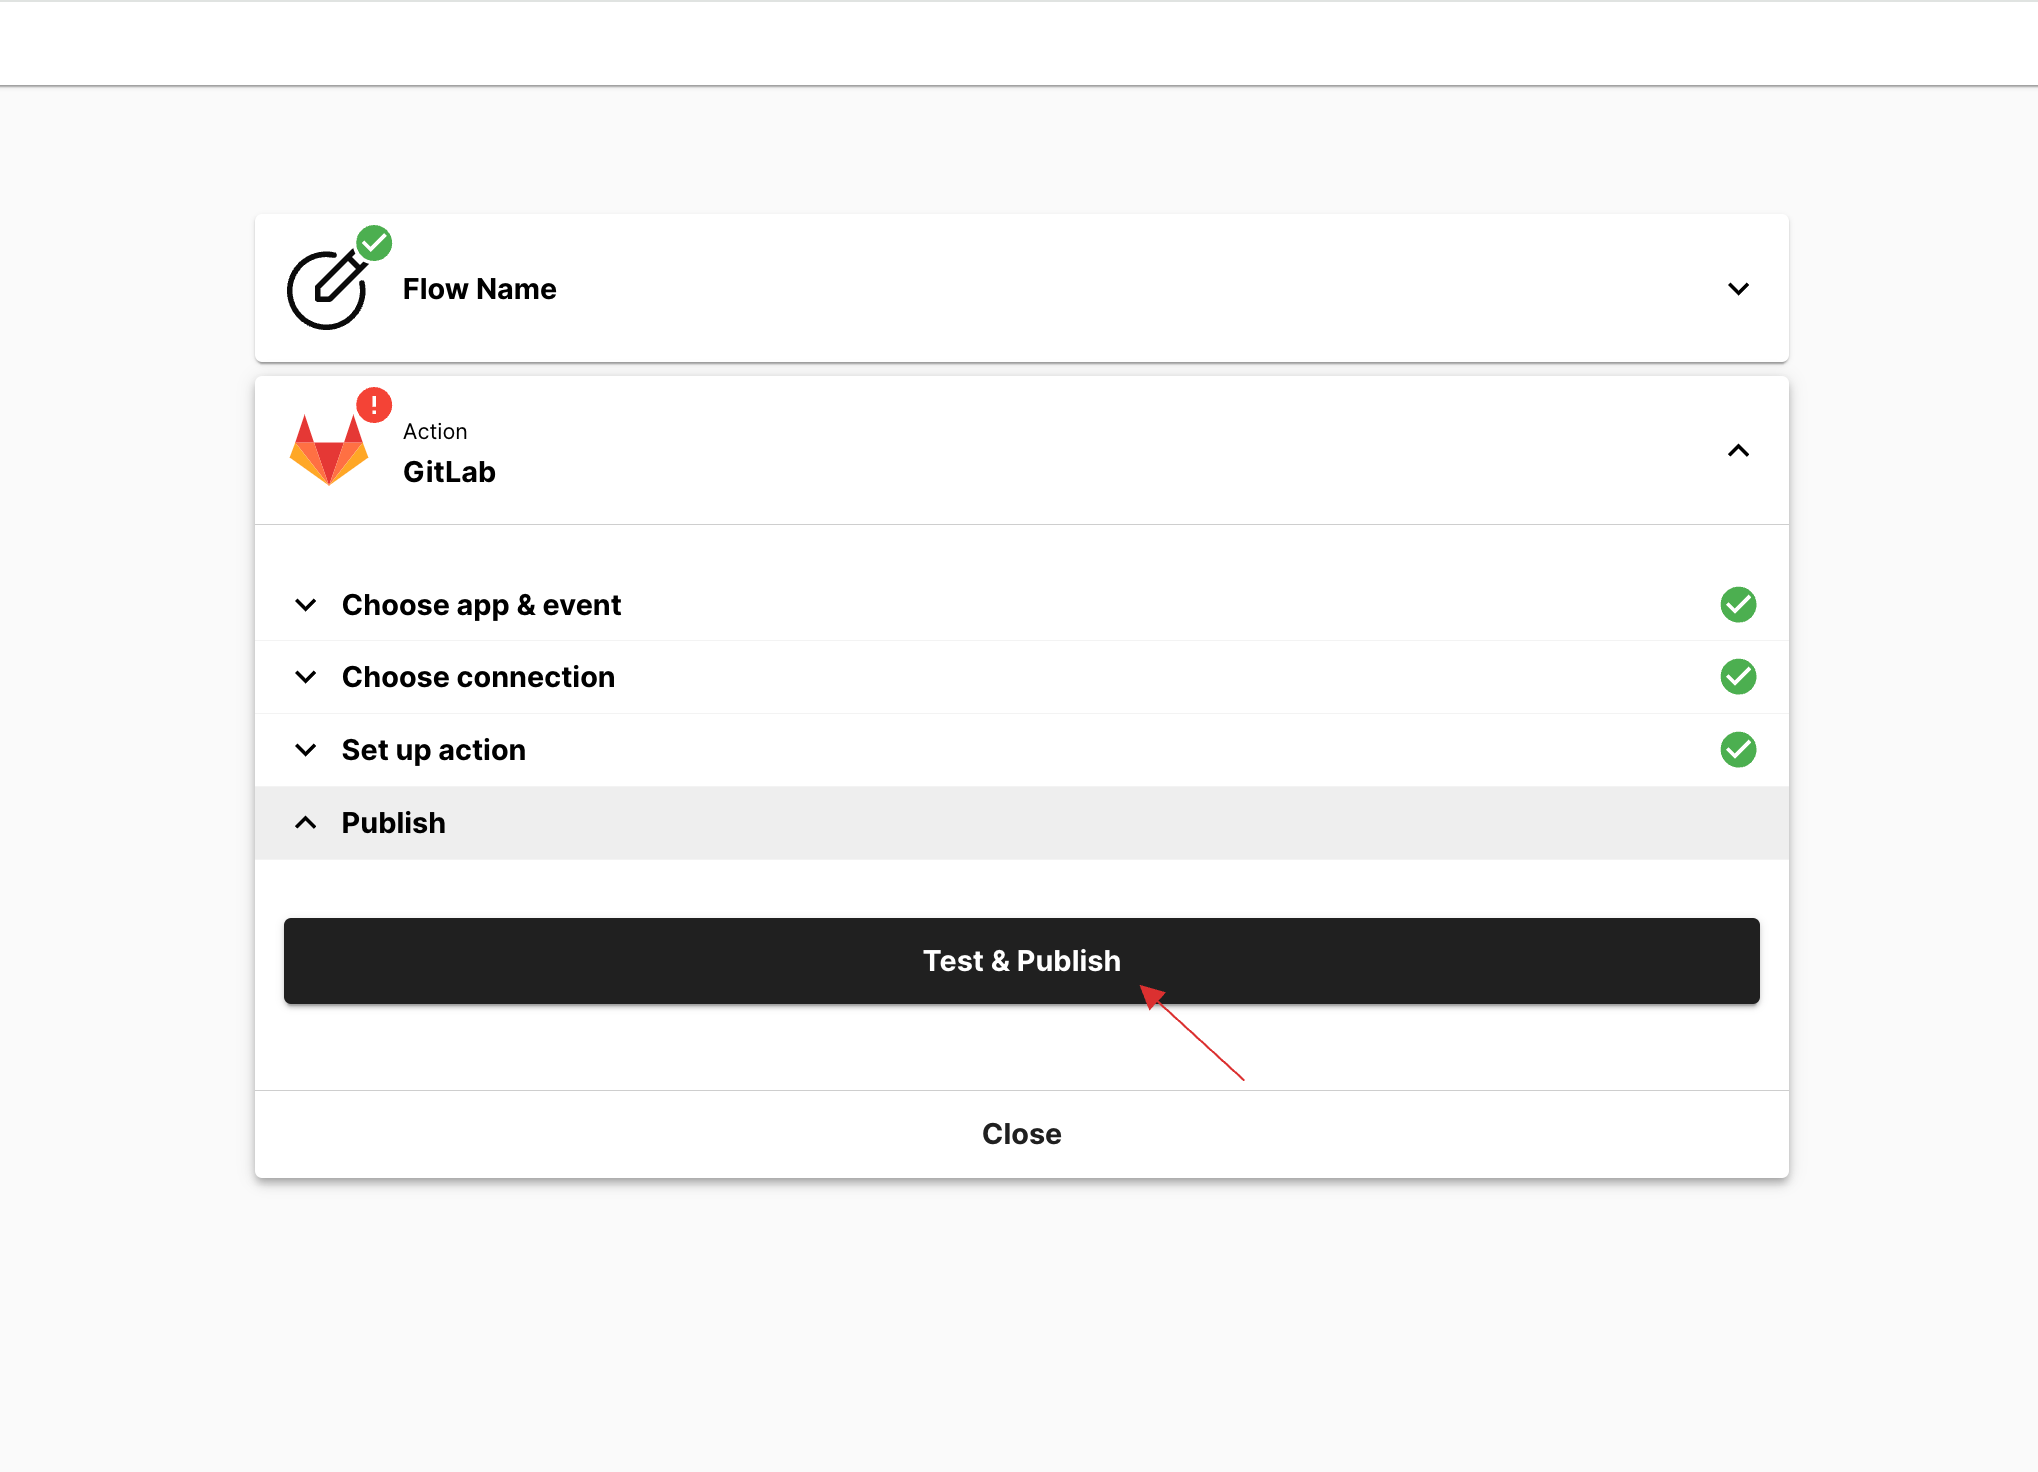
This step entails configuring the application and event type, for instance; GitLab is used for the application, please note that only "Create User" or "Delete User" events are supported. To know more about the available event type, refer here. Then, establish the connection from the configured connection. If a new connection is necessary, refer here. Continue by configuring the action using the provided form. Please note that the setup action will be based on the application chosen.
After configuring the Action step, test and publish the connection to ensure its functionality, and to make it accessible within the flow. This ensures that user creation or deletion within the GitLab application is executed according to the defined events.
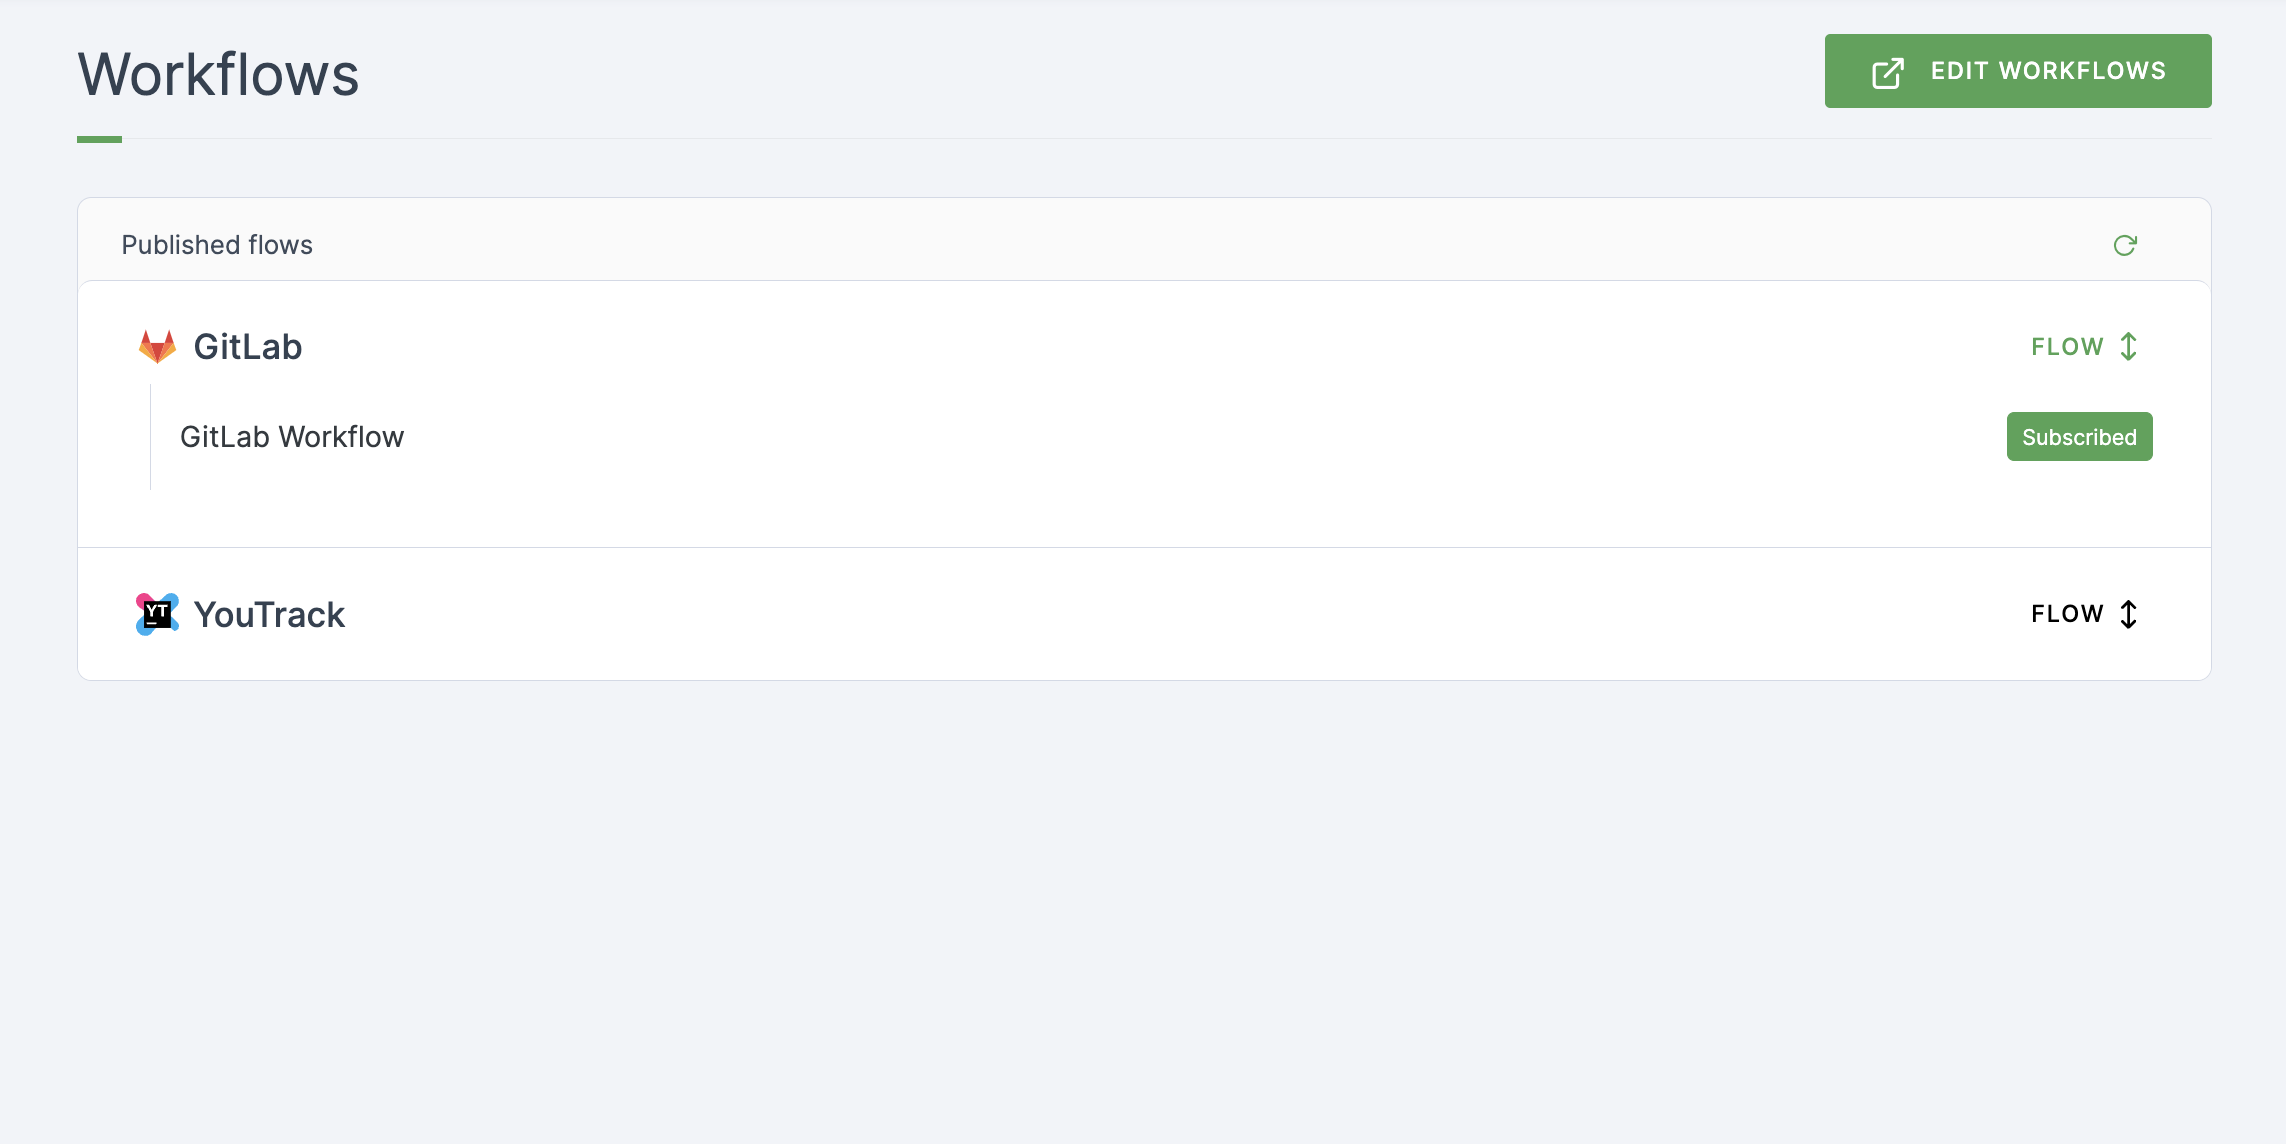
- Return to your dashboard, navigate to the Workflows section, and reload the page. Then, subscribe to the configured workflows, in this case, GitLab's "GitLab Workflow."
Navigate to Users or Workspace Admins, and select the user you wish to assign the GitLab SSO role. To know how to assign a role, refer here.
Once the role is assigned, the workflows will automatically commence.